Now that the weather is getting chillier, I wanted to share a fun craft for your kids.
Drumroll please….it’s a personalized placemat!
I LOVE this personalized placemat craft for so many reasons!
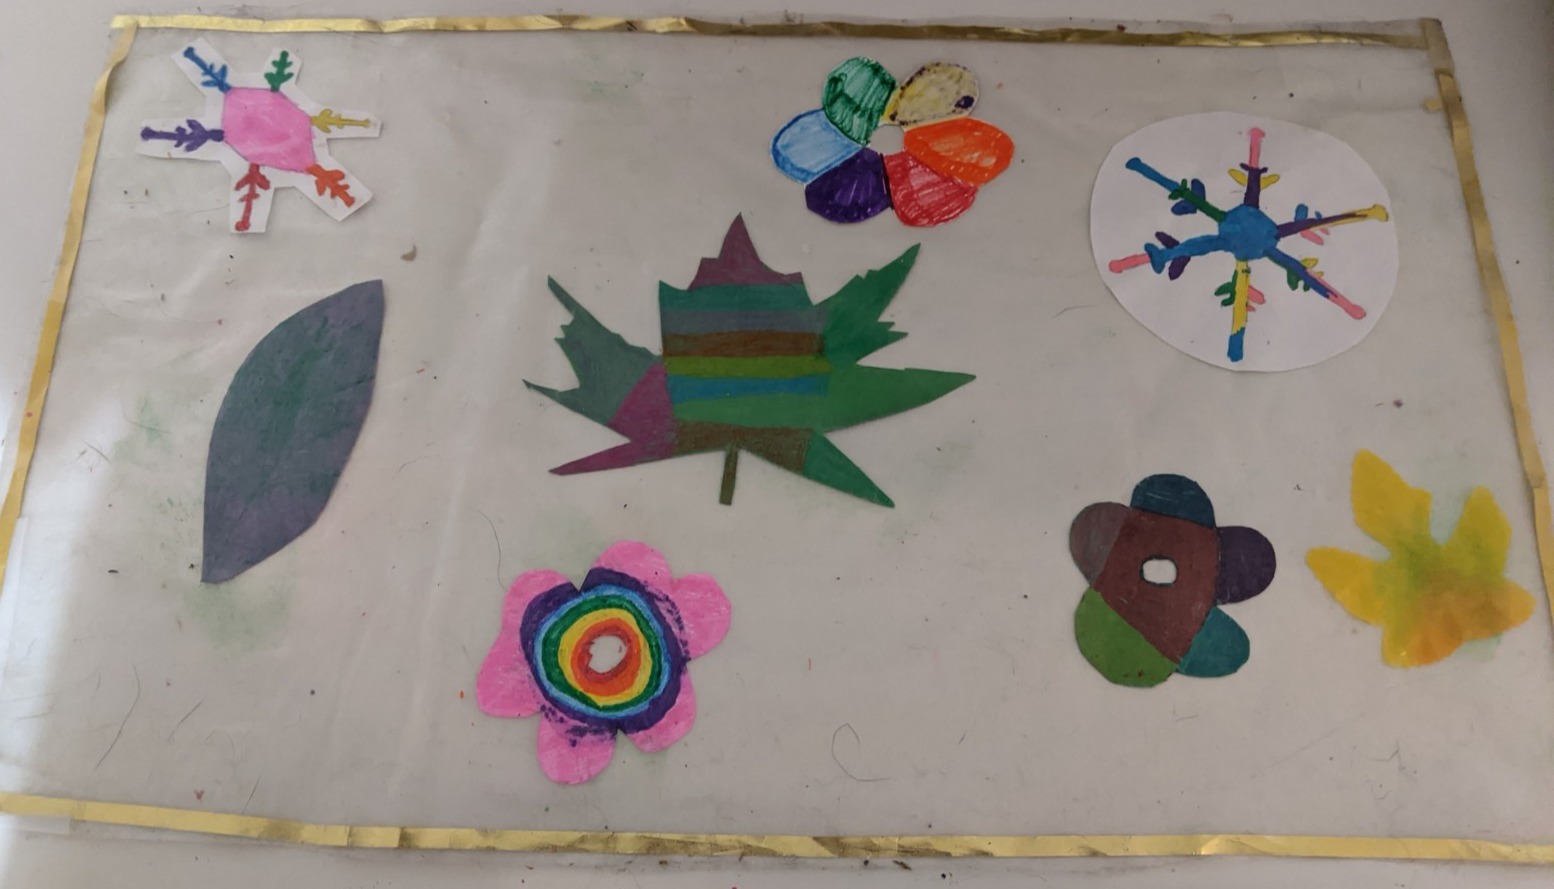
1-It can be modified for nearly every age and ability. I first did this project with Brielle when she was two, and at 8 she is still excited to make them (the picture above is her latest one).
2- For those of you that have young kids or kids with a limited attention span, you know you’ve hit the craft jackpot when your child actually WANTS to focus on an activity for more than five minutes. It’s like a breath of fresh air to see your child eagerly working on something!
3- It is SO easy to do. Your can put more or less detail into it based on your child’s preference, but the basic directions are super simple to follow.
4- It is something they/you can keep for years to come (just make sure to clean it regularly), and it is a wonderful gift for grandparents, aunts, uncles, etc.
I can continue to ramble about why this art project is a favorite of mine, or I can cut to the chase and start explaining it! Without further ado, here is what you will need to make your personalized placemat:
Materials
3- Scissors
4- Markers, crayons, colored pencils, and/or paints
5- Stickers (optional)
6- Glitter (optional)
7- Wasabi tape (optional)
8- Buttons, confetti paper, or anything small and relatively flat that your child would like to include
9- Fake maple leaves (optional)
10- Fake snowflakes (optional)
11- Fake flowers (optional)
Most of the materials are optional, which is fantastic because you can basically use whatever craft supplies you have around your house!
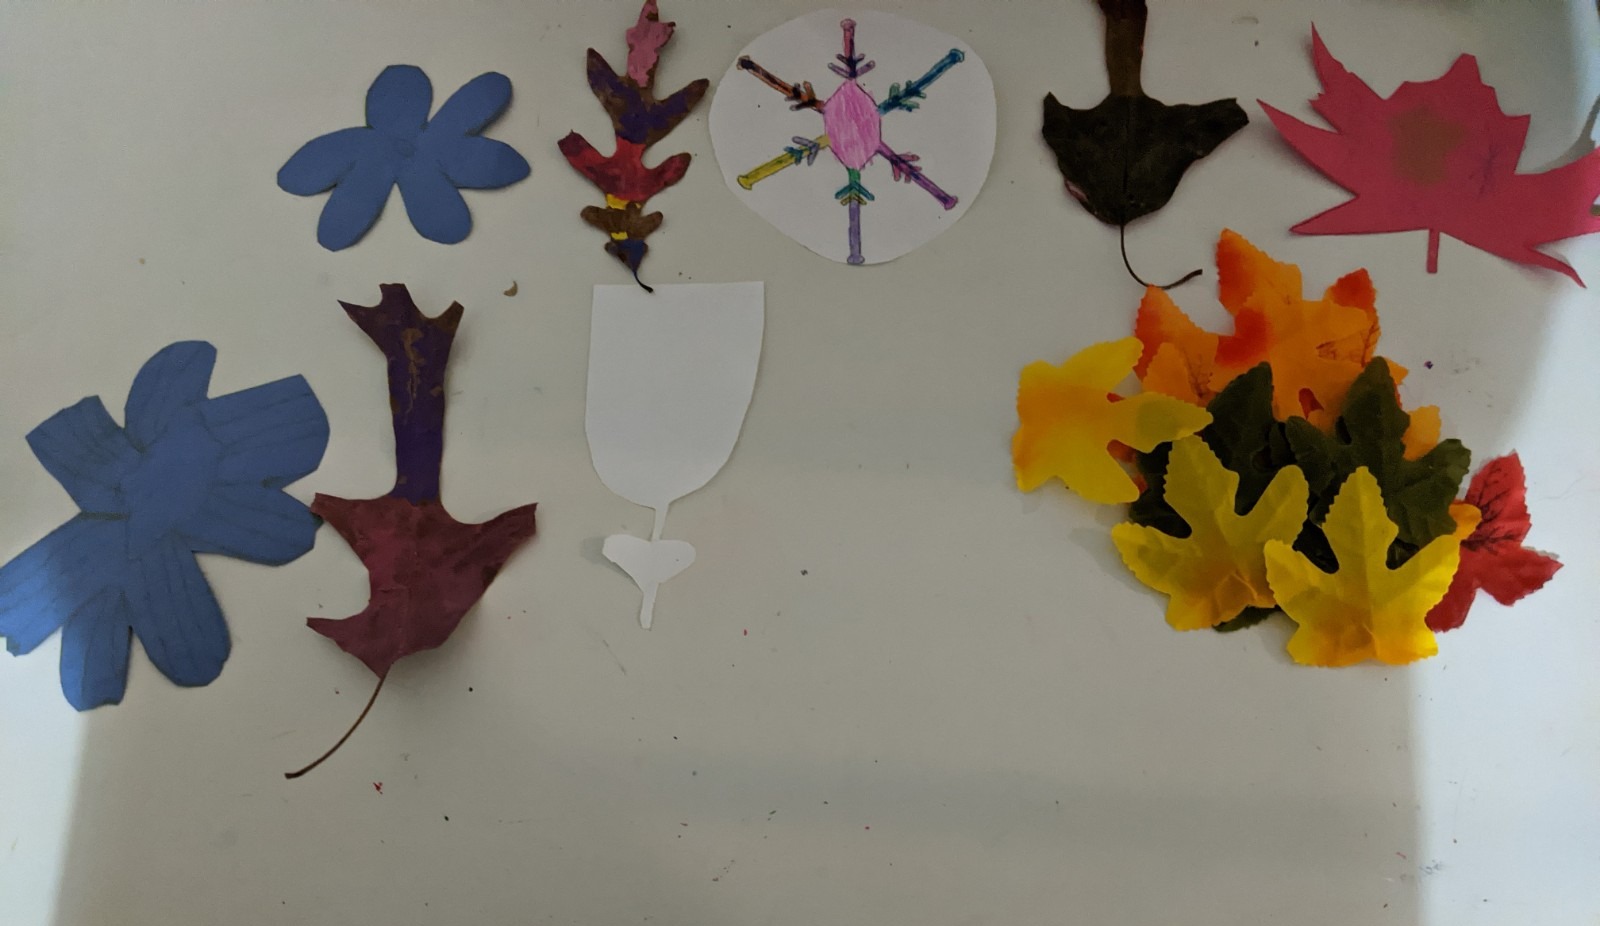
The first few times my daughter made her personalized placemat, she only used leaves and stickers. This time she decided to use snowflakes, leaves, and flowers to represent all the seasons. Of course, the placemats don’t have to have any seasonal theme at all. It is completely up to your kids and their imaginations!
directions to make a personalized placemat
1- Cut two pieces of contact paper per placement. It can be cut based on whatever size your kids prefer, but ours is 11×18 inches.
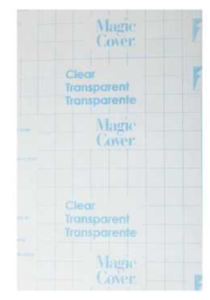
2- Unpeel one sheet of paper, and leave the sticky side up. This will be where you stick your materials.
3- Modify the project based on age and ability. If they are too small to use scissors, they can rip construction paper or confetti tissue paper into pieces and scatter it across the contact paper. Another option is you can cut shapes for them, and they can decide where to place it. There is no right and wrong way to do this. It is whatever works best for your child!
4- Your child can scribble, color, paint, write or design the cut-outs. They can use stickers or any item of their choosing as well.
Here are some shapes and decorations she used when she was younger:
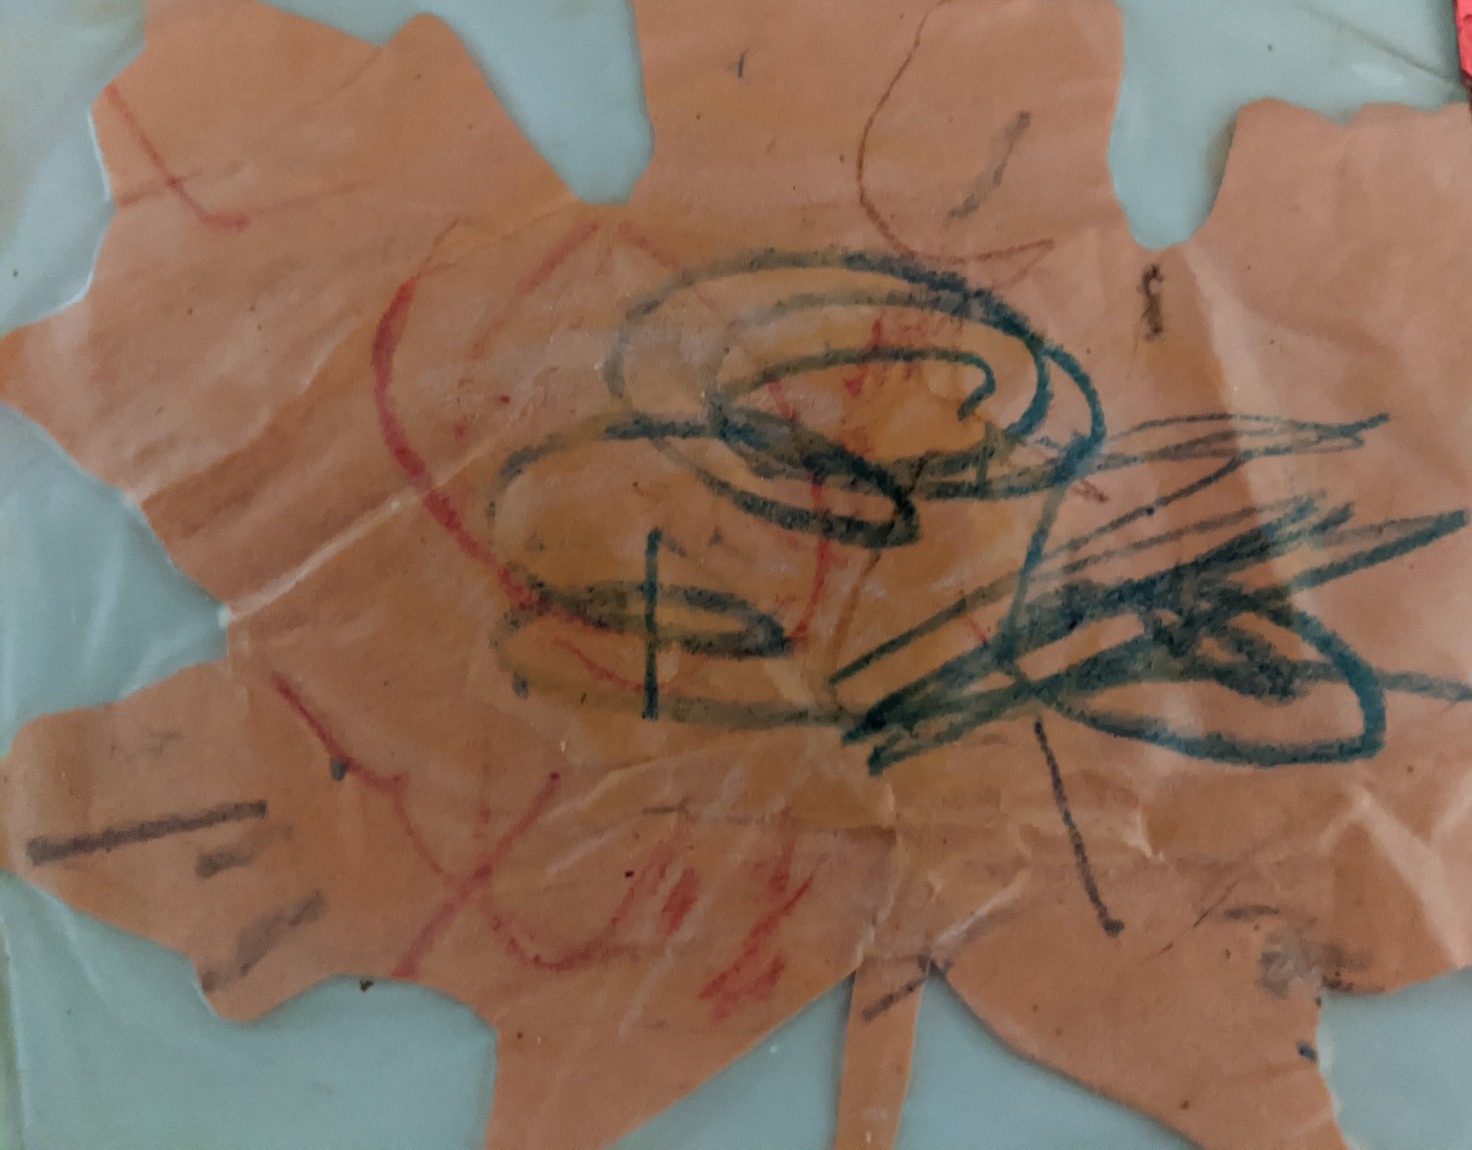
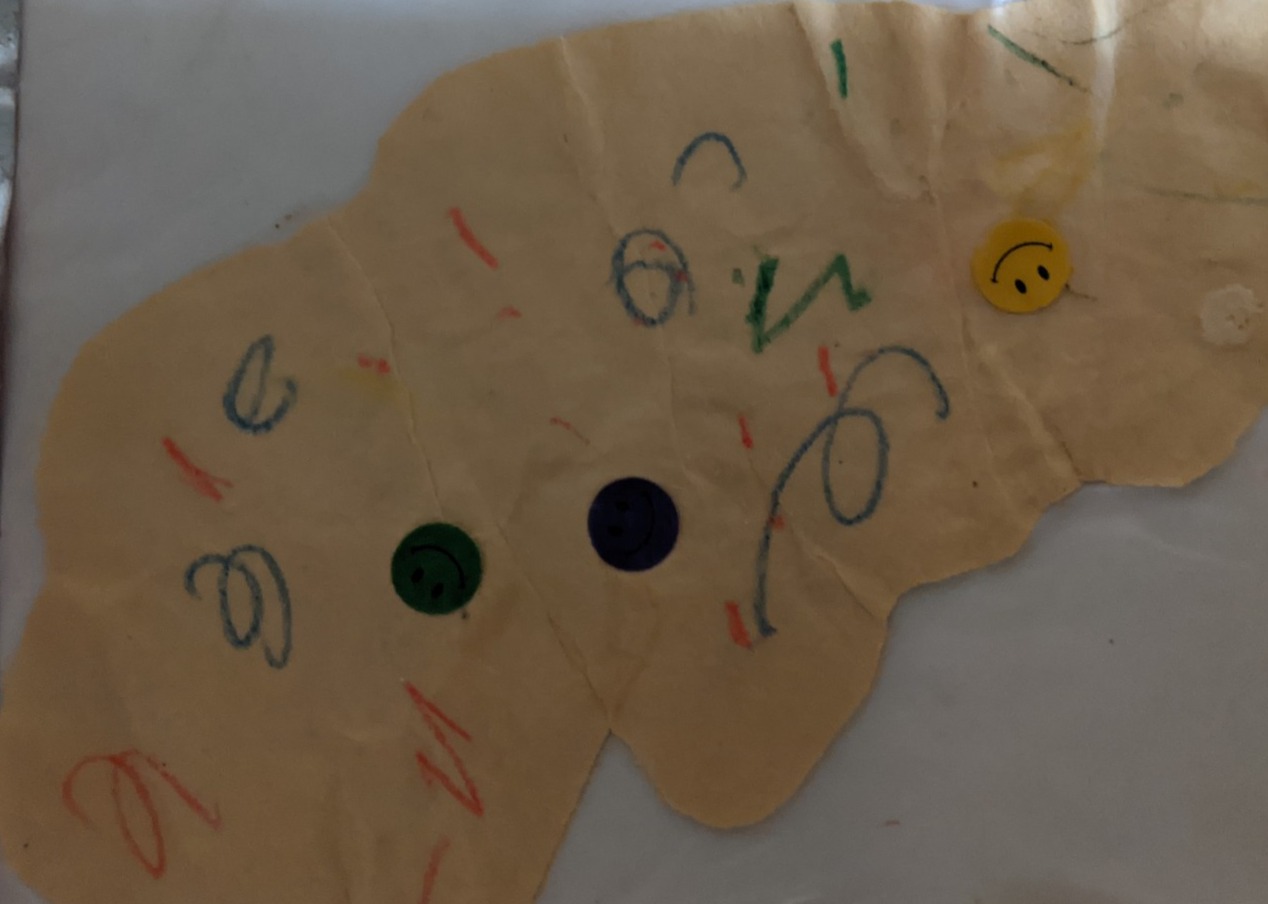
Below are some of the designs she used for the placemat she made a few weeks ago. She decided to use flowers, leaves (cut outs and fake), and snowflakes (I drew the snowflake, and she colored it in). Some she painted and others she colored in with crayons.
5- Once your child finishes designing and picking items, it’s time to decide where to place them. Let your child spread them around the contact paper.
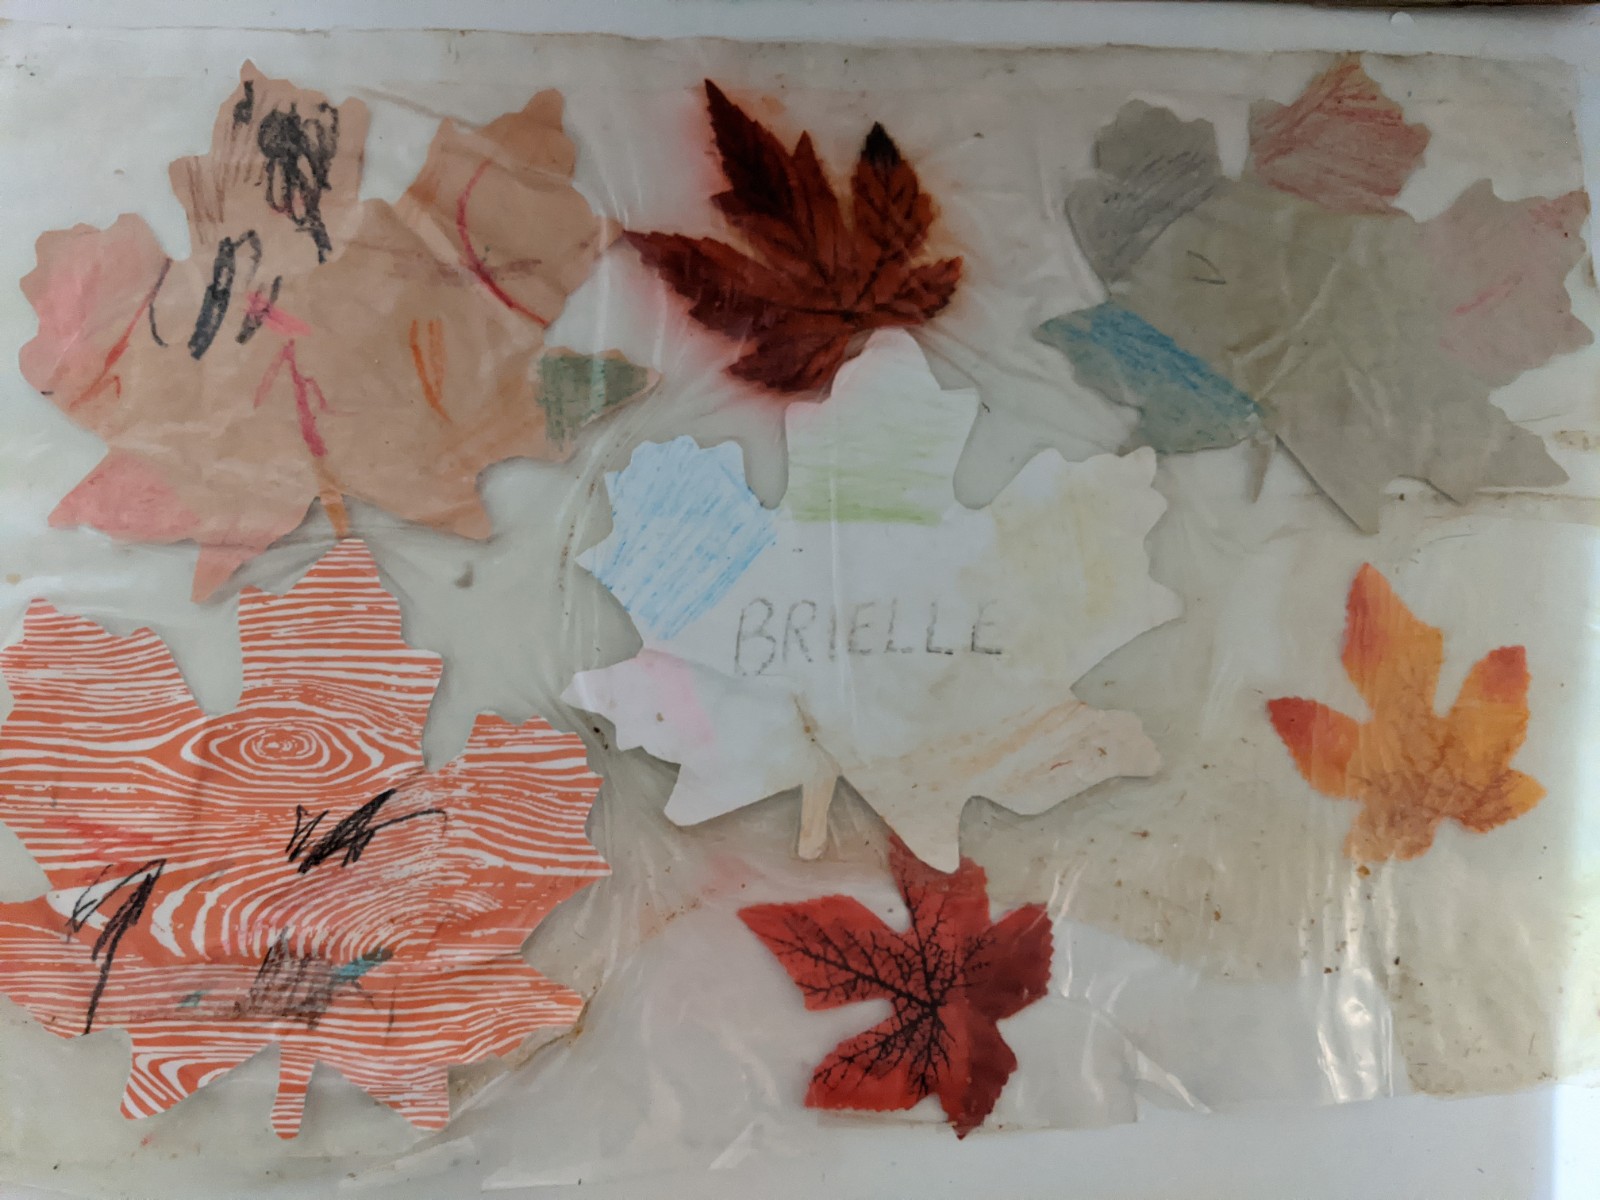
Brielle designed and spread these out when she was younger, and she asked me to write her name on one of the leaves so this would be her designated placemat:
7- Unpeel the second piece of contact paper and place the sticky side on top of the objects so that the objects are enclosed on both sides by the sticky part of the contact paper.
8- If necessary, trim the edges to make sure both sides are even.
9- Measure the wasabi tape so it goes around each of the edges to adhere them .
Another option is to glue or tape the edges to ensure they don’t unravel with time.
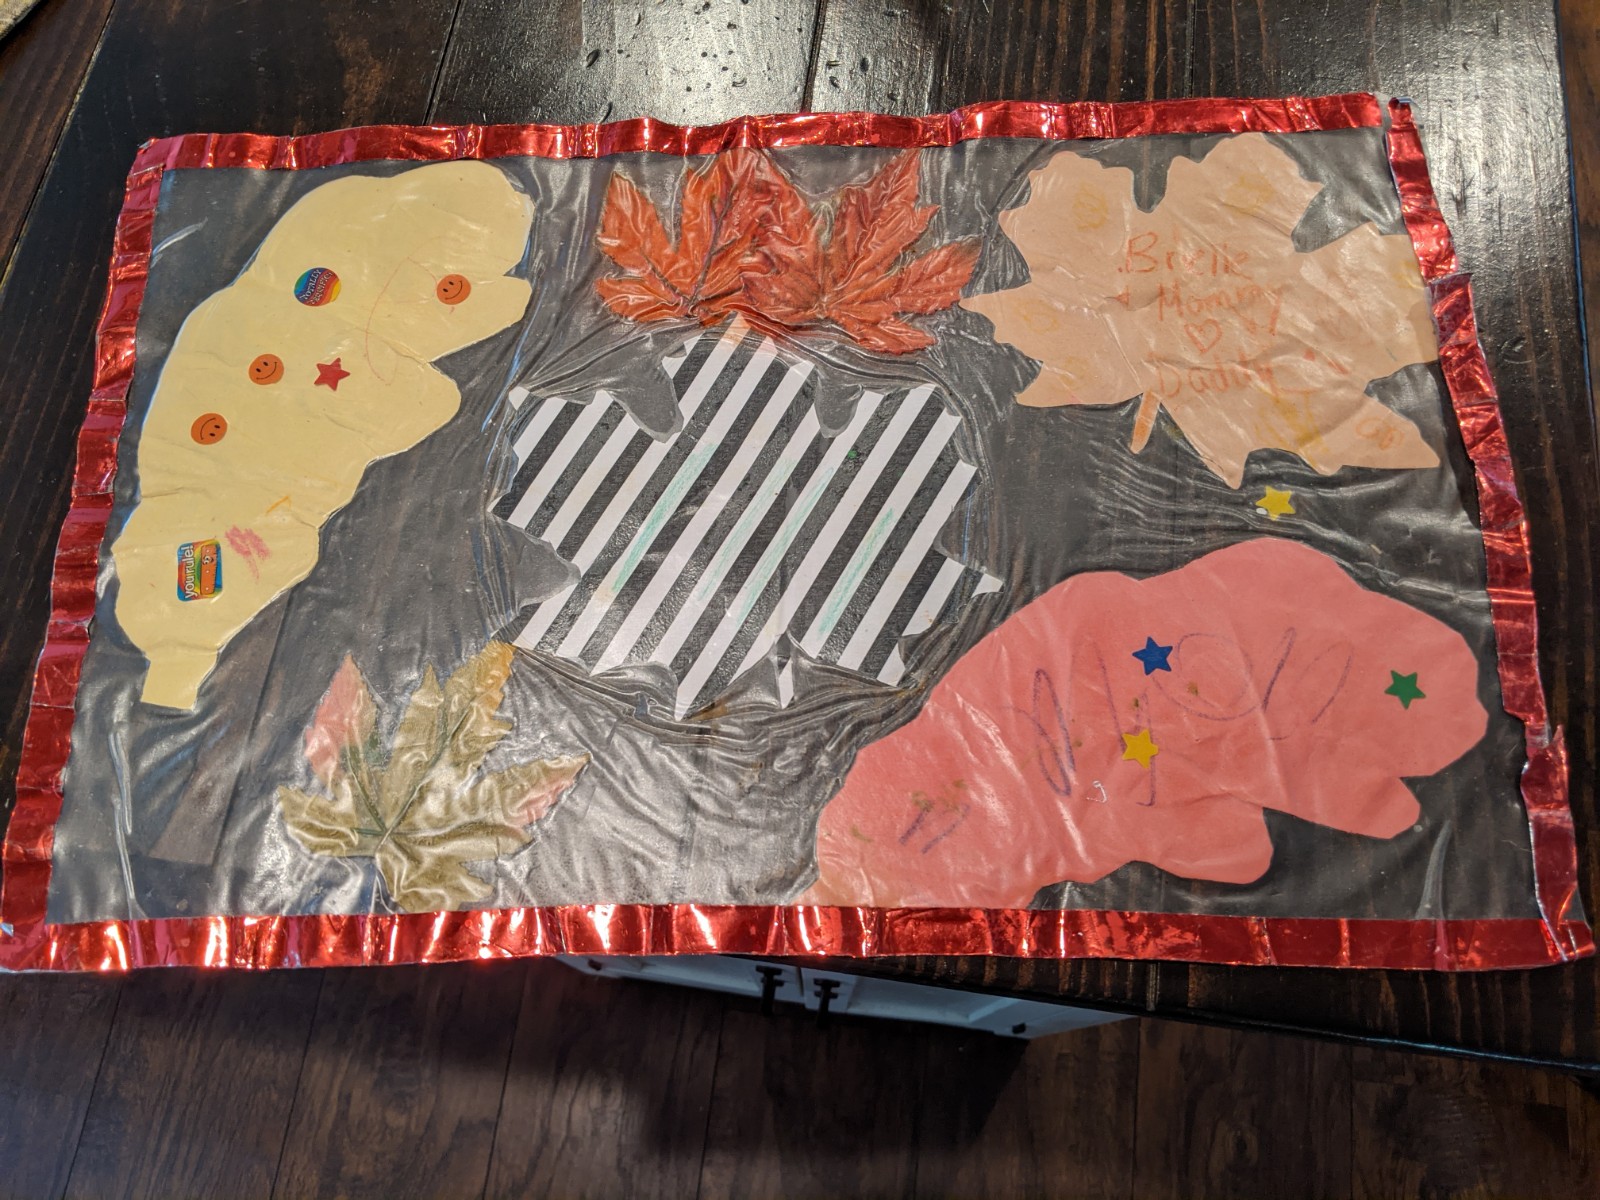
That’s it! Let your kid take a step back and admire their handiwork!
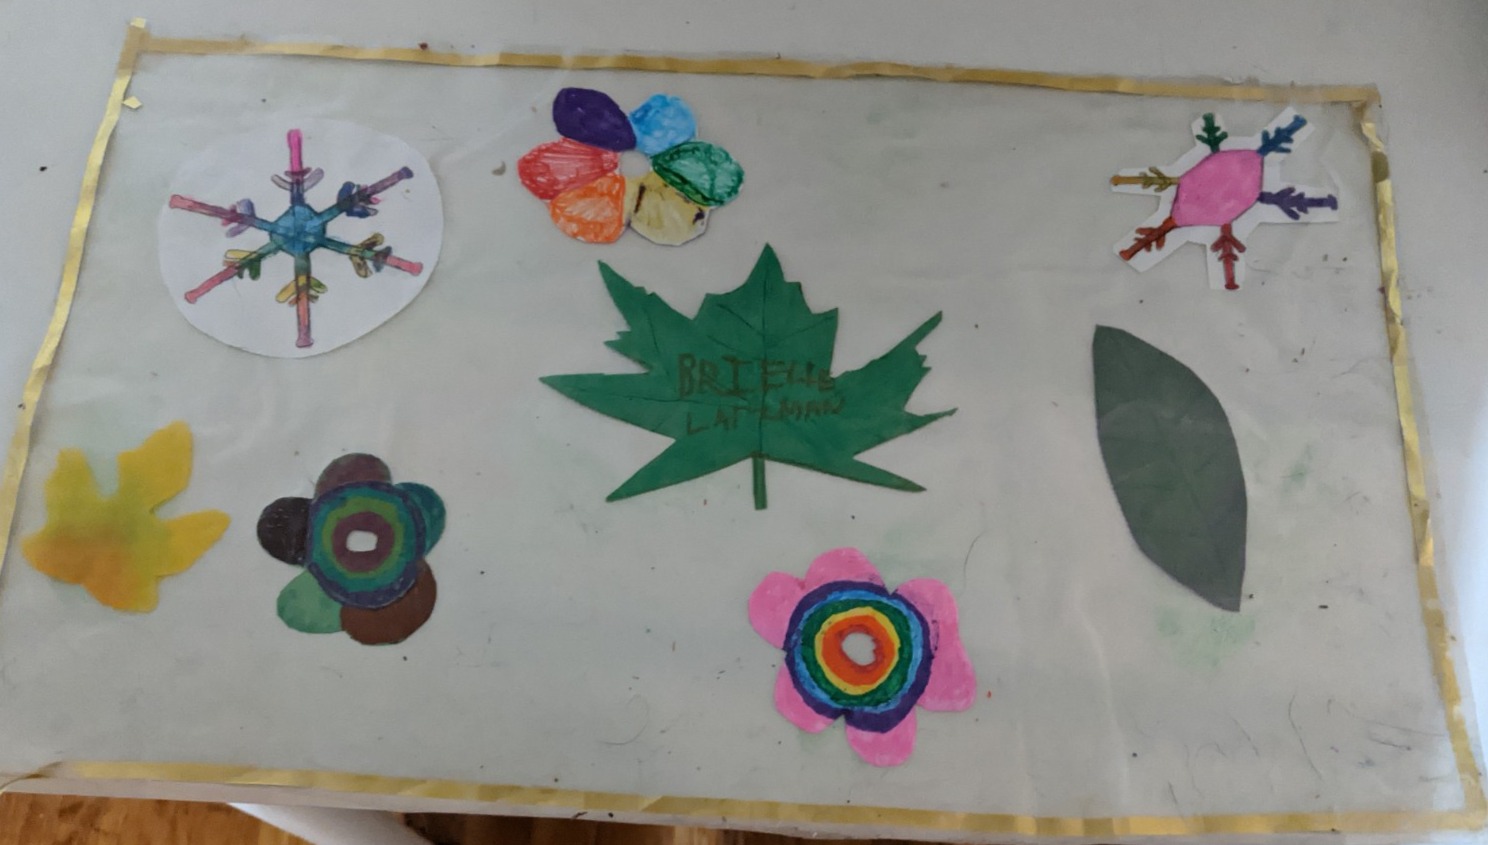
It’s the simple projects that are the most fun for the kids AND the parents! I love that this is something Brielle can mostly do on her own, with minimal input from me (I trim the edges and the wasabi tape).
She can take pride in knowing that she decided what to use, as well as the design and placement. It gives her a huge sense of accomplishment that she is responsible for the final result!
I can’t wait for your kids to design them. I would love to see your personalized placemats. Post and tag me on Instagram @survivingmomblog with the hashtag #survivingmomblogcraft.
I hope your kids enjoy this personalized placemat craft for years to come!
